The Fanciest Birdhouse In The World- vardo- part 3

After the framing was complete, we back-primed everything.
We painted every part on every side and in the joints as well, which will hopefully alleviate the worries about water infiltration and mildew. This should add greatly to the lifespan of the caravan. After the framing was painted, it was time to sheath the inside and outside with exterior grade plywood.

Adding more rigidity, this closes up the shape, and now we start to see a caravan and not just a skeleton. However, before I sheathed it, I built the nesting box at the very back. This was much easier to do while being able to reach through the framing than it would have been from inside the closed up box.

Next step was to build out the exterior of the nesting box, and start applying trim. I mounted all of the trim with screws first, then marked it, and removed it for carving.


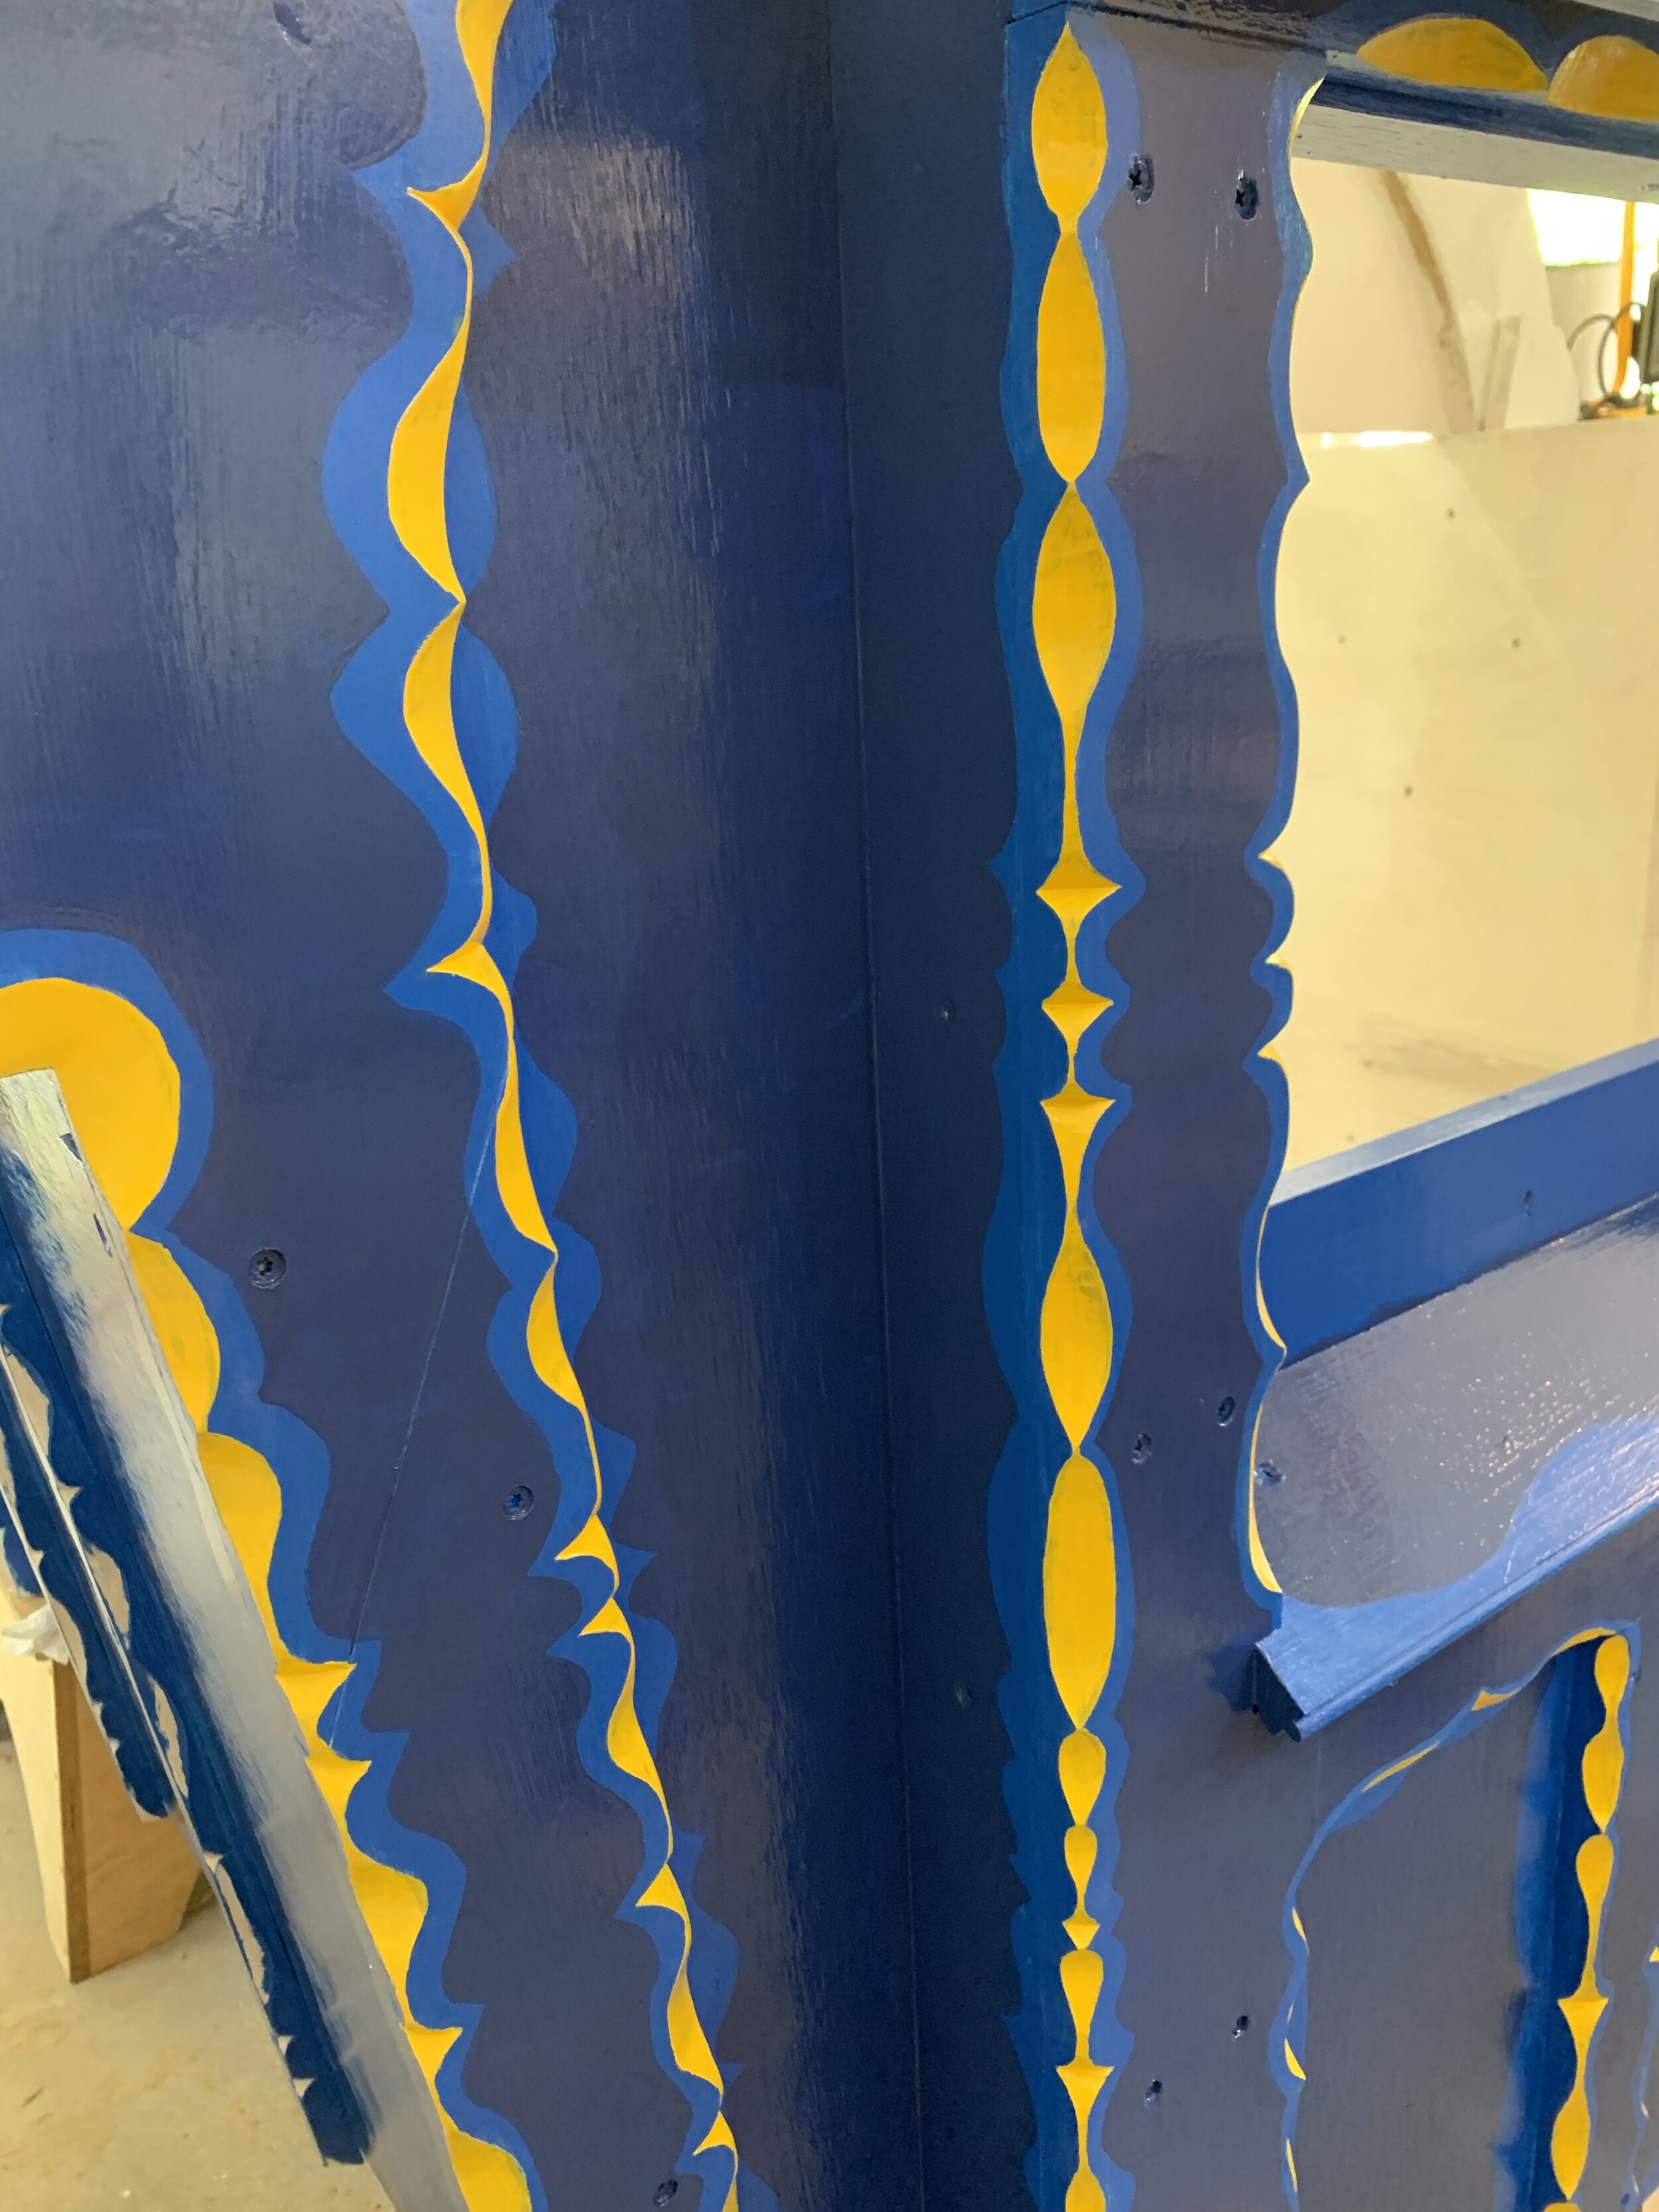
By far the most fun part was the carving. Jim Tolpin tells me the scalloped shapes cut into the corners of the trim are called “butterfly chamfers.”

Now that the interior was mostly painted and all the outside trim was carved and reattached, I wanted to paint as much of the exterior as possible before putting on the roof. This consisted of a white oil based primer, followed by a coat of bright blue over basically everything.

Then I painted the butterfly chamfers with alternating yellow and orange. Next I filled in the bright blue fields with a layer of dark blue, mirroring the butterfly chamfers. This last detail I think really makes the next step pop. Now that the butterfly chamfers were painted and the layers of blue were down, it was time for what I can only describe as the most fun and least comfortable part of the whole affair…the striping and scrolling.

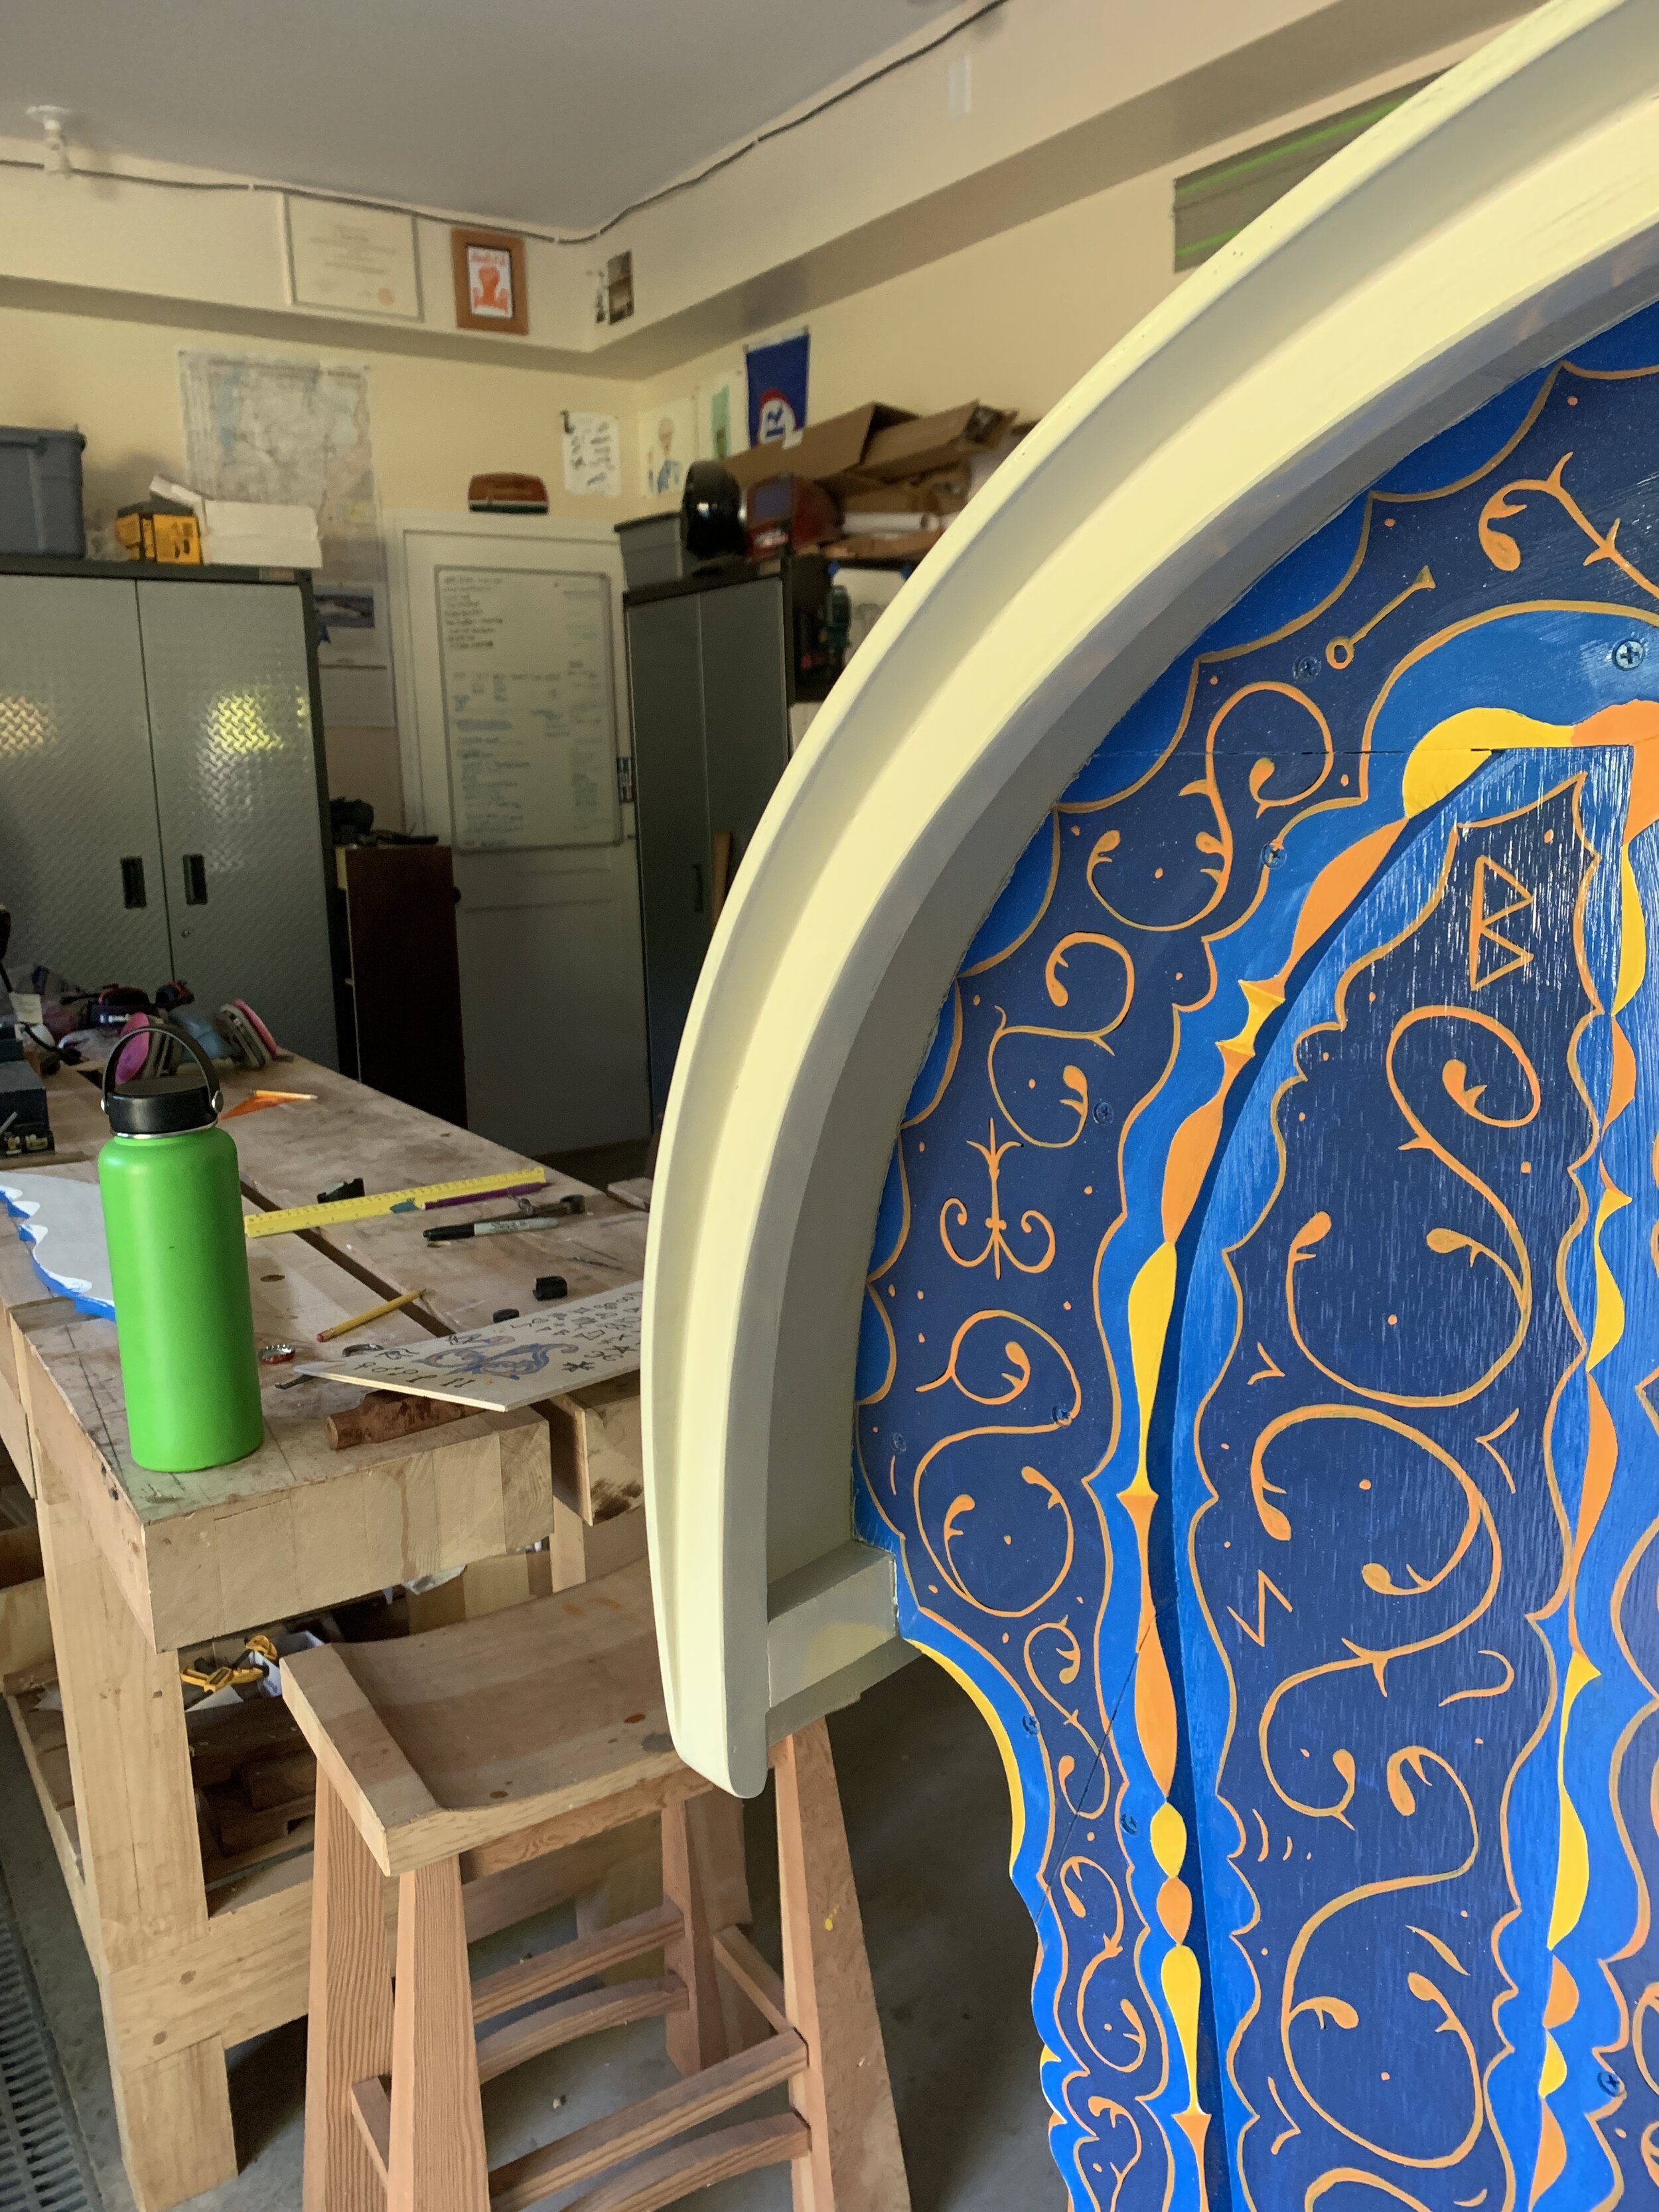
I have always admired the pin striping on the hot rods and low-riders, choppers and tractor trailer trucks that grace our roads in hand painted style. Though I knew it would be a challenge, it was finally time to pick up the tiny brush and mixing cup of the pin striper. This entire time I hand mixed all of the colors, from three pre-mixed colors, one red, yellow and blue plus white and black. By varying the quantities of just three colors plus white and black, a large and harmonious range can be created. I opted to use an orange-yellow for all of the pinstripes and scrolls as it is a nice complement to both dark and light blue. I came up with a motif that I thought would look fun and add movement to the whole thing, and laid it out with a marker by eye. To break things up a bit, here and there I painted distinct symbols primarily from history and religion that had some sort magic or protection associated with them.

Once I was pretty happy with that step (which takes a lifetime to master), I scuffed and coated everything in satin varnish, which gave a good cohesive sheen to everything, and should preserve the paint job a while longer.

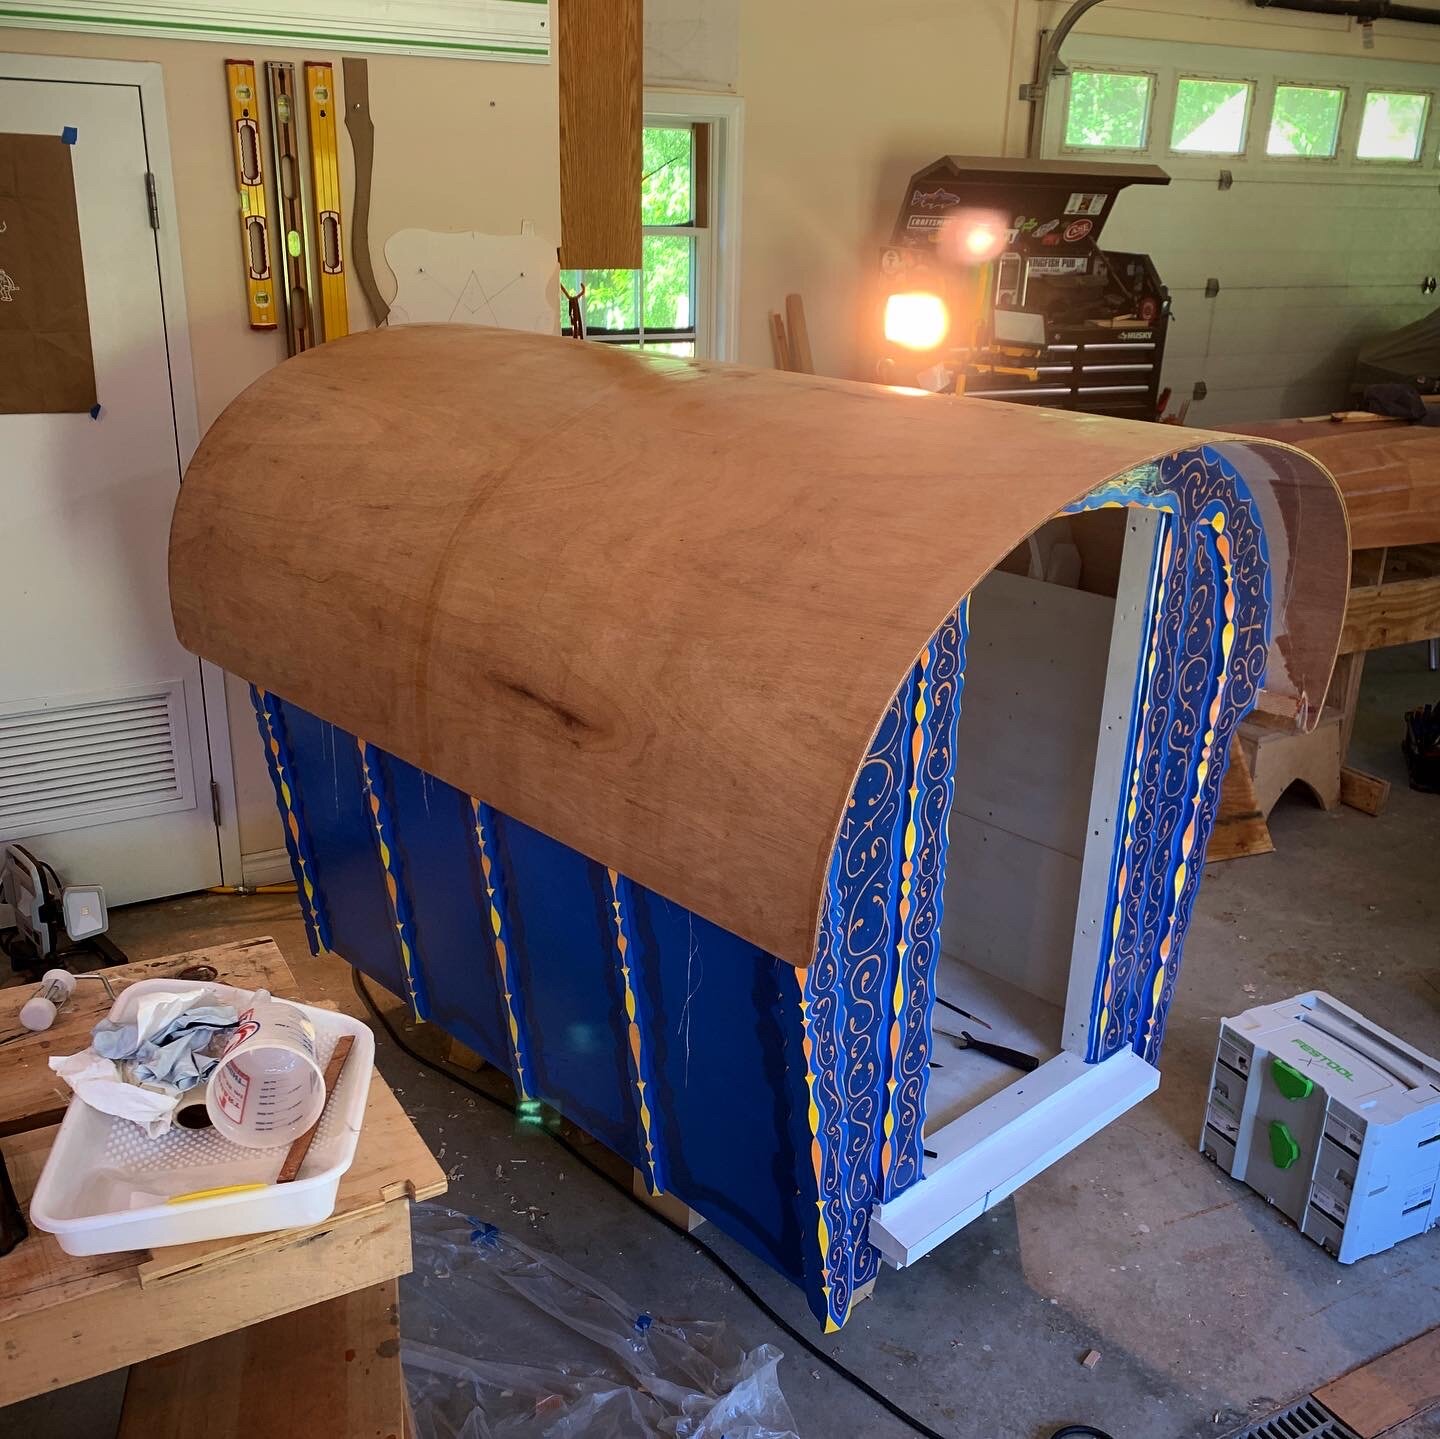
Now it was time to build the roof. Though the roof outline was one of the first things I had drawn, and the skeleton showed the shape pretty well, I was eager to see the form fully realized. Due to the consistently tight curve, following fair molds this step was pretty easy.
The first thing to do was to bend on and fit the three layers of thin luan plywood. I laminated those layers together directly on the arched beams, and fastened them. Next I faired it and fiberglassed it with West System Epoxy for a waterproof and extremely strong canopy.

Over this, I applied decorative ribs that also conceal the fasteners. After everything was cleaned up, this too got several coats of paint.


The light color should help to keep the coop cool in summer.
After all the paint on the interior was finished, I mounted the metal mesh under the vented eaves, this should keep out intruders, however narrow they may be.
A perch, a feeder and waterer came next, after that the door and the temporary wheels.

It has been almost six months now and the first chicken has started laying in the nesting box. Though I would like bigger wheels for sure, the coop rolls around well, and seems to work very well for its intended purpose as a mobile chicken coop. It is very dry and comfortable, that’s what they tell me anyway.

This was a really fun and extremely satisfying project, I would love to build more and larger ones for people, as weekend getaways, home offices, play houses and more.
I want to thank Zetsaw of Japan for providing me with the best pull saws available. They were indispensable tools on this project.
materials used include:
West System Epoxy and Epifanes varnish.