The Fanciest Birdhouse in the world- vardo- part 2

For this first caravan I wanted to study what others had done. I thought I should also take a departure from the main traditional caravan types and make something original, using what I know about wood construction.

I had to track down a copy of the out of print “English Gypsy Caravan” which is a great resource. I also consulted Jim Tolpins’ “Design and Build a Gypsy Wagon” which is really very good; Jim has built several vardos and is a wealth of information regarding Roma caravans and really anything built in wood. Find a bit of his genius at www.byhandandeye.com
I had squirreled away enough off-cut hardwood scrap that I figured I would design around that and clear out some shop space at the same time.

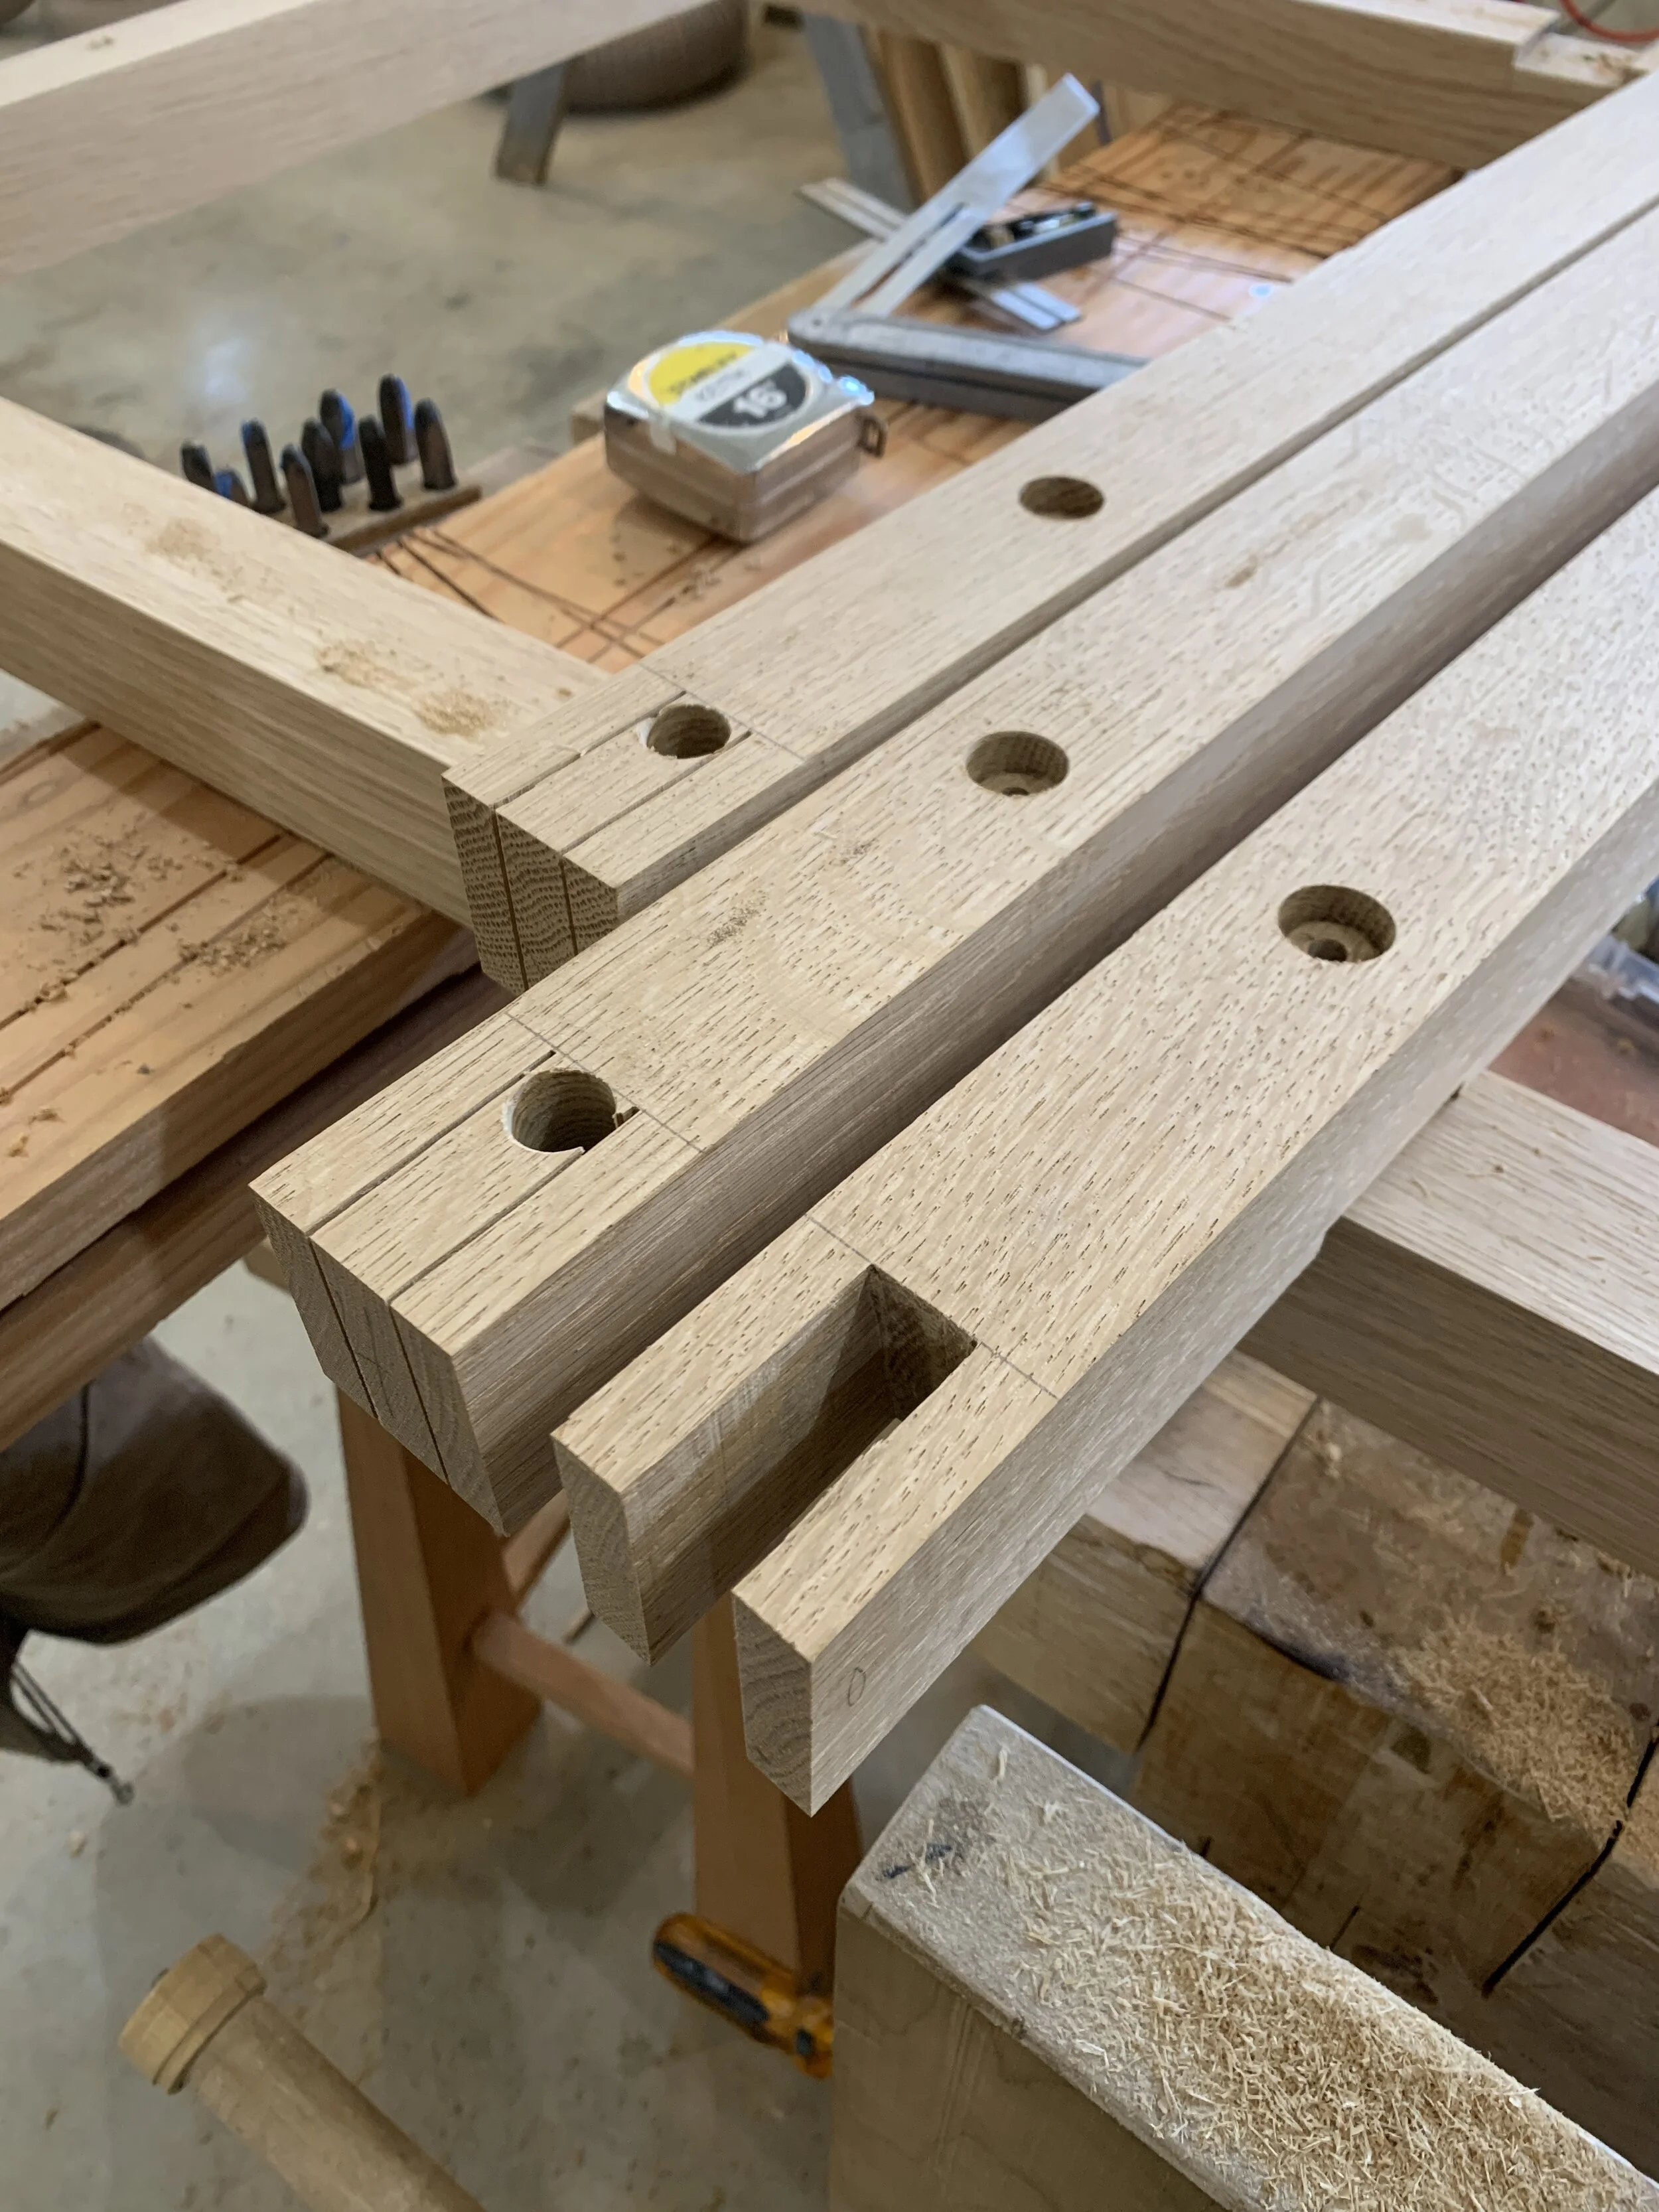
The first step was to build the frame that the wheels would mount to. On a full sized travelers caravan (not a chicken coop) the metal chassis and suspension would mount to this wooden frame. For this I used thick white oak, strategic notches and thoughbolts. For the side frames that would form the wall, I used lighter white oak, and a bridle joint with through fastening. For the curved top sections, I used marine grade plywood. This results in a vehicle frame that gets progressively lighter toward the top, which should help with balance.

Designing and laying out the elliptical roof shape was done by using a simple wooden trammel that I built from a drawing in an old book. I love working with simple geometry layout methods that involve numbers, but no real equations or calculations. It feels to me more natural than plotting points on a grid or drawing tool path in a computer and then having someone cut the parts with a cnc router, and it is very close to as accurate.

I chose to join the futtocks (pieces of the frames) with overlapping gussets which will be plenty strong, if they were to be exposed to view in a large vardo for a person, I might have taken another route for aesthetic purposes, but this way is fine for a chicken coop.

With the side and roof frames tied back into the cabin sole beams below, I ended up with what are basically 5 “ring frames”, that could each support an enormous load on their own.

I tied these together with continuous longitudinal stringers which serve the purpose of girts and purlins in a timber-frame building. That is to keep everything square and to resist racking strains, as well as provide points to fasten the roof and siding too.
At this point, though it was still just a skeleton, I could tell I was building just what I had envisioned all this time, I just had to keep making careful forward progress to fully realize this vision.
