Building a Rams Horn Sled
I’ll start by saying that there will be a two-part companion video to this build on Youtube on the TotalBoat channel and on the Jamestown Distributors channel as well as my own.

And there is a companion mini-comic book that I created here on my site as well.

I’ve done this because I am trying to encourage you to build one like I did. This sled is comfortable and fun to ride, and fast as well. It can also be used to carry loads on the snow and ice, where the legs give it higher ground clearance and less resistance on the snow. Plus the height makes a nice bench when you stop for a rest or go ice fishing.

Several years ago I saw some vacation footage of the Swiss Alps, and in it people were traversing the mountains on wooden sleds. Well that immediately caught my attention. I have lived most of my life where there are freezing temperatures at least 7 months of the year, so I love the snow, and all the snow sports I can handle. Sledding is great fun too, so after seeing them, I wanted to build one of these traditional looking sleds for myself.

When the time was right, I got started by designing what I would build, so there wouldn’t be any surprises when it came time to cutting wood. To do this, I needed to know how it would function, so I turned to photos. Similar styles of sled seem to be all over Europe, but I really liked the look of the fully curling skis. I believe this style comes from the Grindelwald valley. I studied the photos of sleds that I could find online, and sat on various pieces of scrap wood of different heights and widths to figure out the width of the seat between your legs, and the width of the skis as footrests, as well as the tilt. I also decided to stick to 12 inches high for the seat, and 48 inches long overall.

I did a quick sketch or three to decide how much curl the skis wold have, etc.
Then I lofted it full size on plywood using a 6 inch grid to guide me. Most of the numbers were straightforward, and I’ve included them, but if your sled has a different curl to the horns, that’s fine by me.

Another thing you might consider are the thwarts. Most sleds that I saw had thwarts that stuck out several inches past the seat, this is because the leg mortise isn’t particularly strong if it is as close to the end as I’ve made mine (especially unglued). I wanted to run my own test on joint strength though and I knew I would be using TotalBoat Thixo high strength epoxy ( http://www.totalboat.com/product/thixo-fast/ ). So this is a disclaimer telling you that putting a joint so close to the edge might be inadvisable, and you can extend your thwarts an inch or more past the seat if you wish; though I didn’t because I didn’t like the idea of being whacked by a thwart sticking out past the seat. If it breaks, I can always put a metal gusset on the broken joint, though if the sled gets broken, I don’t know how many gussets I’ll need.
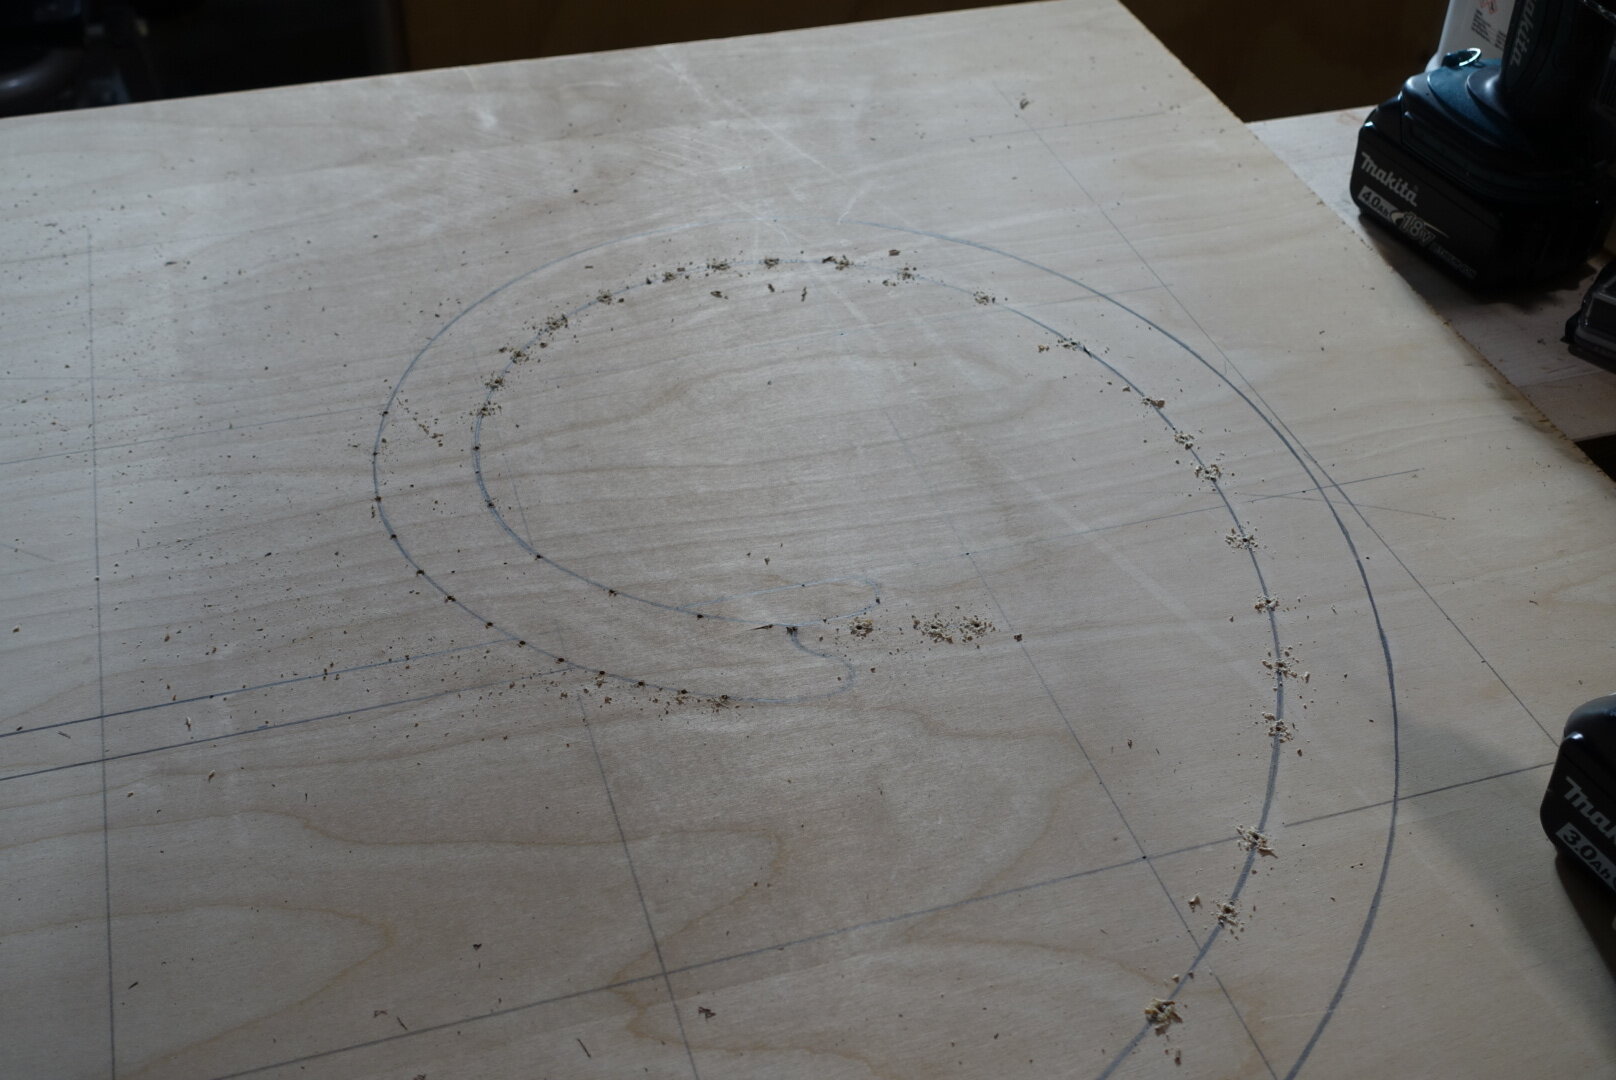
With everything drawn full sized on durable plywood, building exactly what I had drawn was made relatively easy later. The first thing to use the lofting for is the laying out of the ski bending jig. I already made this wild curve once, so I needed to transfer that onto the stock. There are many ways to do this, but this time, I used a small drill bit to drill through my line. Then I placed the lofting onto my plywood jig stock, and poked all the points through with an awl. After removing the lofting again, I had a series of small marks from the awl that I could connect with a pencil. From there I made another layer and joined the two together and made sure the jig was perfectly square edged. Next I wrapped the edge with packing tape. I also drilled several large holes through the jig for clamps to go into, though I should have drilled several more and saved myself effort later.

Next I milled up all the layers for the skis. I used ten layers and the ski is 1 1/2 inches thick, so each layer was quite thin, though not nearly thin enough to take the bend without persuasion (I used a heat gun to thermoform the wood). You can make your layers as thin as you’d like, and the bend will be easier, conversely, you could probably steam bend two 3/4 inch pieces at once and glue them together when dry to make a ski with only two layers or one layer. What you choose is up to you.

With the strips and the jig ready, and plastic on the bench and the gluing cauls, I got out the epoxy. On this project I used TotalBoat High Performance epoxy (http://www.totalboat.com/product/high-performance-21-epoxy-kits/ ) and a slow hardener thickened with silica (http://www.totalboat.com/product/silica-thickener/ ) and a tiny amount of glass micro balloons (http://www.totalboat.com/product/glass-microballoons/) . This epoxy has a nice viscosity for laminating, and didn’t seem to require as much thickener as I expected. After carefully clamping out any gaps, I let the ski sit overnight, and repeated this the next day.
With the second ski curing on the jig, I milled the remaining stock for the seat, legs and the thwarts.

Next I steam bent the seat boards to jigs that I made to match my lofting, plus a little extra curve and length for overbend. These I set aside to dry and cure while I went back to work cleaning up the skis and cutting the joinery for the legs.

At this point I decided on a mortise and tenon size, and hand cut the angled mortises. What you choose to do here is up to you, but the angled mortises are fun to cut really. Once I was happy with the fit of all the joinery, I glued the legs to the thwarts,
Once those were cured, I put them together with the skis again.

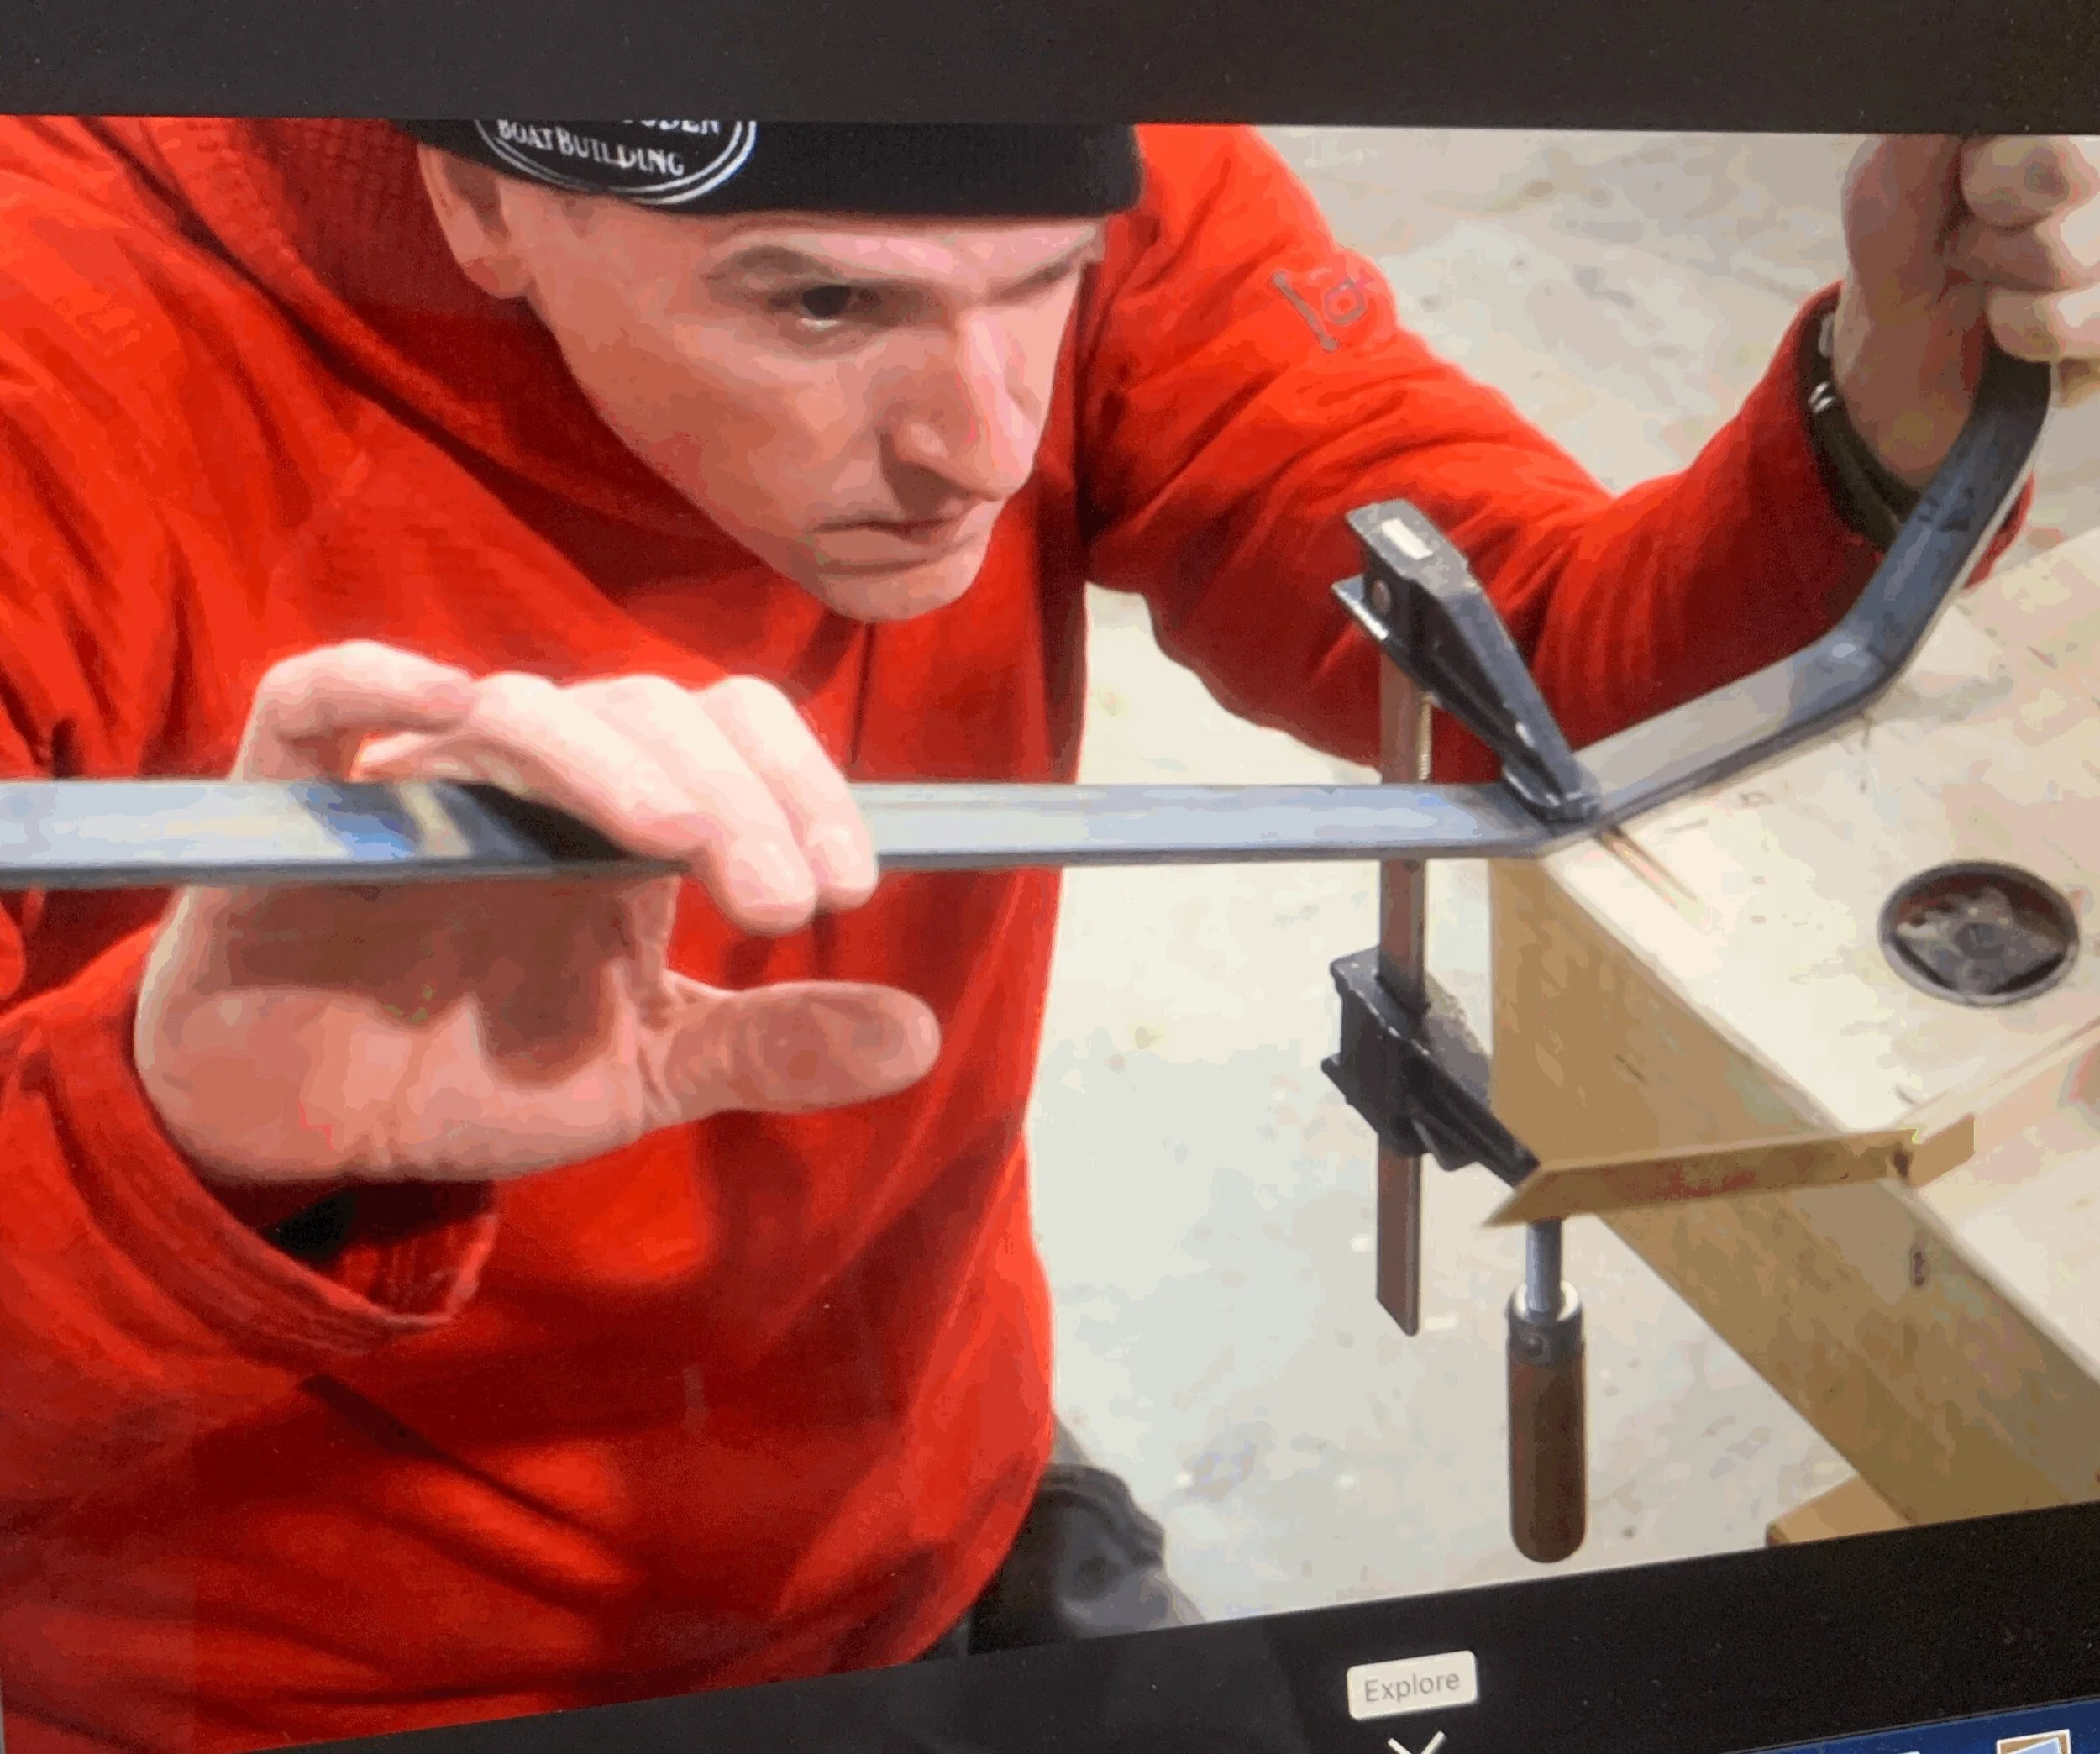
Next, I made the tie rod. This is a tricky piece, and it can greatly influence the symmetry of the skis, so I took my time, and even started with a piece of practice stock. The lofting really shines here, as it clearly shows the angles of the skis.


Once I was happy with the tie rod, I fit the outer seat boards and screwed them temporarily to the thwarts, and marked the intersections with the horns. This way when I glued the legs into the skis, the tie rod was helping, and the seat boards were holding the leg assemblies plumb and straight, clamped to the horns.
Next, I made the metal brackets that reinforce the seat frames. If I had a bender I would have used that, and if I weighed more than 200 pounds, I might have thought about sizing the steel up to 1/4 inch thick from 3/16”. With the brackets bent and drilled, and test fit to the legs, I started their paint process. This was primer and enamel then some decorative striping. Making the frames early, gives you the ability to partially install them, making the glue-up of the frame even easier.

Before I glued the frame assembles of thwarts and legs to the skis, I carefully sanded everything and applied a dye stain. This way I wouldn’t have problems where glue squeezed out or I had a drip.

When the dye was dry, I glued the skis onto the legs.

Now the whole assembly was prepped and sealed with TotalBoat Wood Sealer (http://www.totalboat.com/product/wood-sealer-varnish-primer/ ) in 2 back to back coats.


The next day I quickly scuffed everything and applied the first coat of TotalBoat Gleam 2.0 Varnish (http://www.totalboat.com/product/gleam/ ), and a few hours later a second coat, and a few hours later, a third. The next day I sanded everything, and applied at least two more coats. I repeated this schedule the next day. At this point it almost looks like it has been dipped in glass, but stopping just short of perfection, I wanted to ride it. It can always get another coat at the end of the season. Next I reinstalled the seats and metal brackets.

The last thing to do was to give it a tow rope. This rope also functions as reigns when you are riding, so I wanted it to be nice. I started with manilla, and that didn’t look right or feel right in the hand. So I decided on Sampson Amsteel, which is a very high strength, low stretch line made to replace things that were traditionally metal cable. The exotic fiber that it is made of (dyneema) doesn’t hold many knots well, but it is easy to splice if you follow the rules. A deeper than usual bury on the splice and the lock stitch were required here. If the Tie rod wasn’t built in, and I could slip the tow rope on, I would have used Brummel eye splices and no lock stitch.

Then the sun came out, and it was warm, and the snow was good. The day to ride was here! My friend Paul and I went to Mt Philo state Park in northern Vermont, so we could give the sled a try and get some footage.

It didn’t disappoint! Very fast and maneuverable, this sled made me feel like a kid again, and like the king of mountain! The only problem? That I didn’t build two.

I hope you’ll consider building one for yourself or for someone special, and bring this heirloom sled design into your life.

All of the hardware for this build was generously supplied by ToalBoat.com and Jamestowndistributors.com . Thank you TotalBoat And Jamestown, and thank You the reader.
